
Well this week the club took delivery of 6 new tables the same as those provided by the Blagdon estate in our clock room venue. This means we can now put on 2 large games on our fortnightly all day Saturday games.
The first opportunity to do this involved a game of Picketts charge ACW and a Crusades hex based game both in 28mm.
I took part in the Crusades game hosted by Mick Nichol who played the Saracens while i partnered Tom Nutt with the Crusaders. The game was loosely based on Jacobs Ford with the two sides advancing towards each other to seize control of the ford.
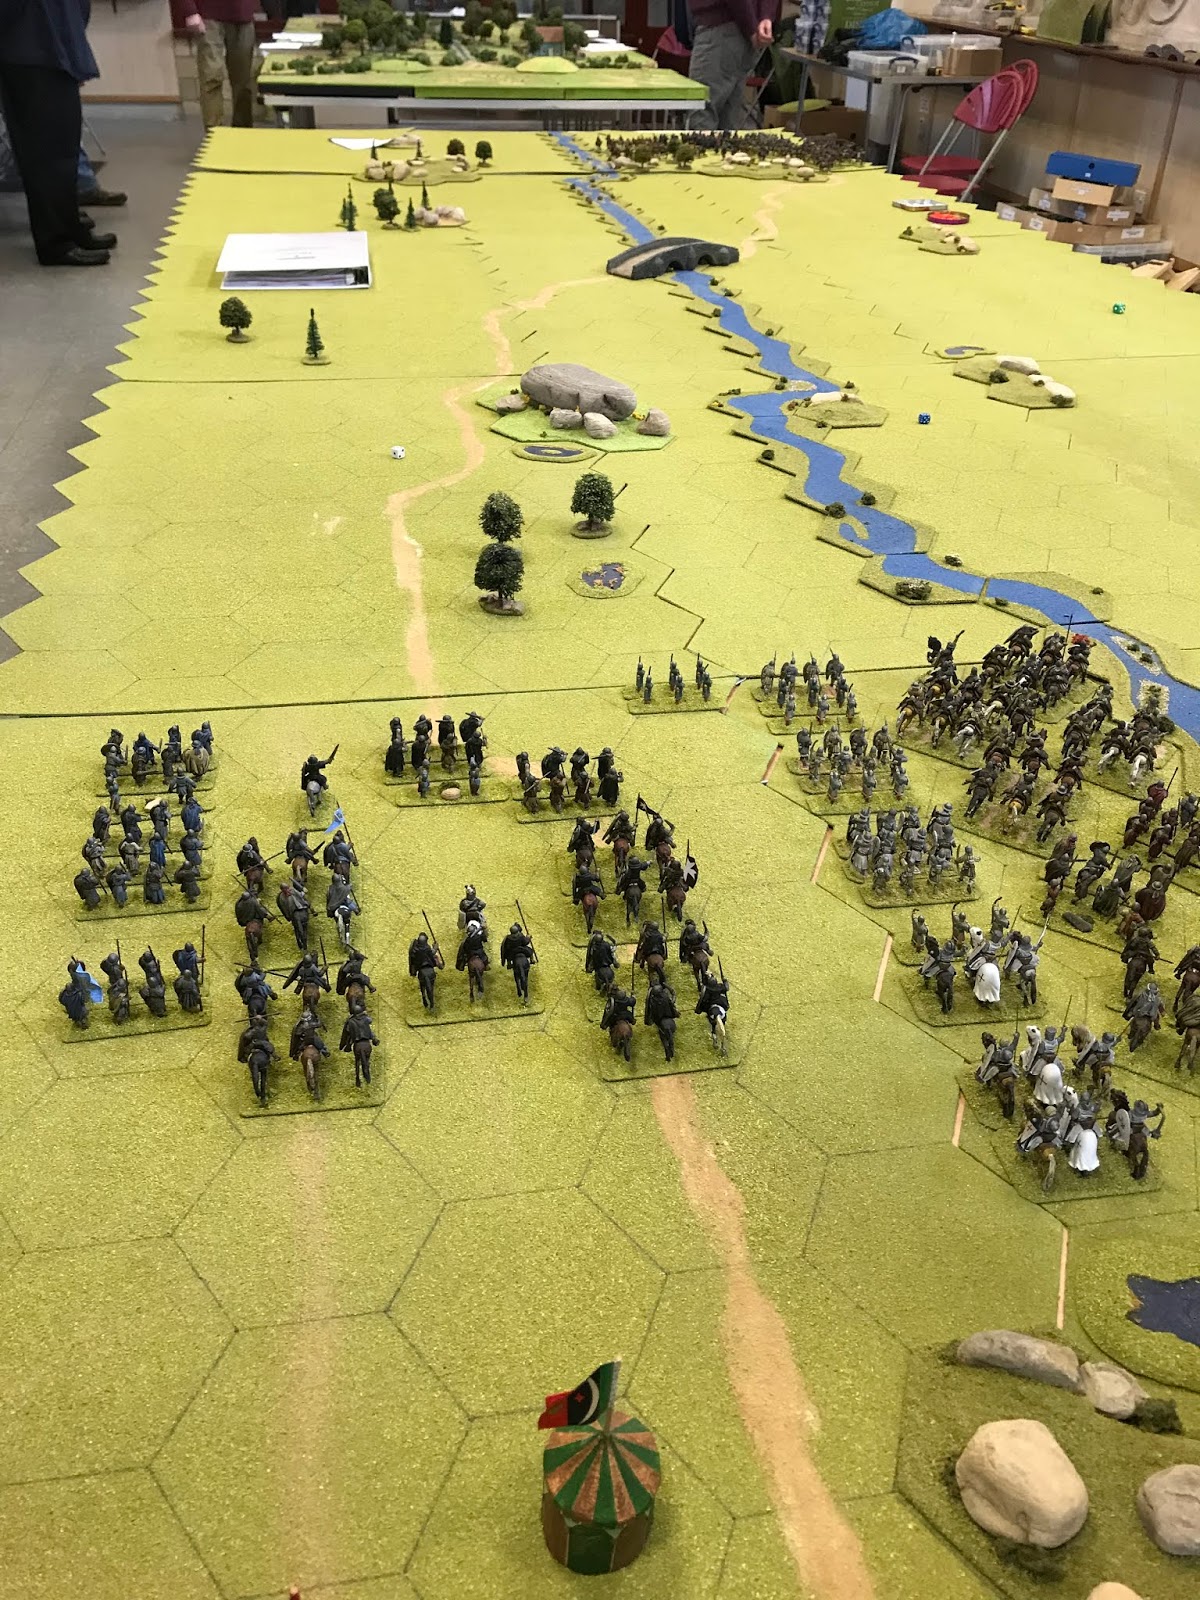
The Crusaders advance


Th Knights of St John

King Baldwin IV the Leper King of Jerusalem

Tha Saracens

After a couple of moves closing the distance between the 2 armies the Saracens make the bridge and cross to the other side. In the distance infantry cross using the ford

with light cavalry to their front.

On the other side of the river Saracen cavalry advance along the road.

Archers inflict the first casualties on the Saracens.

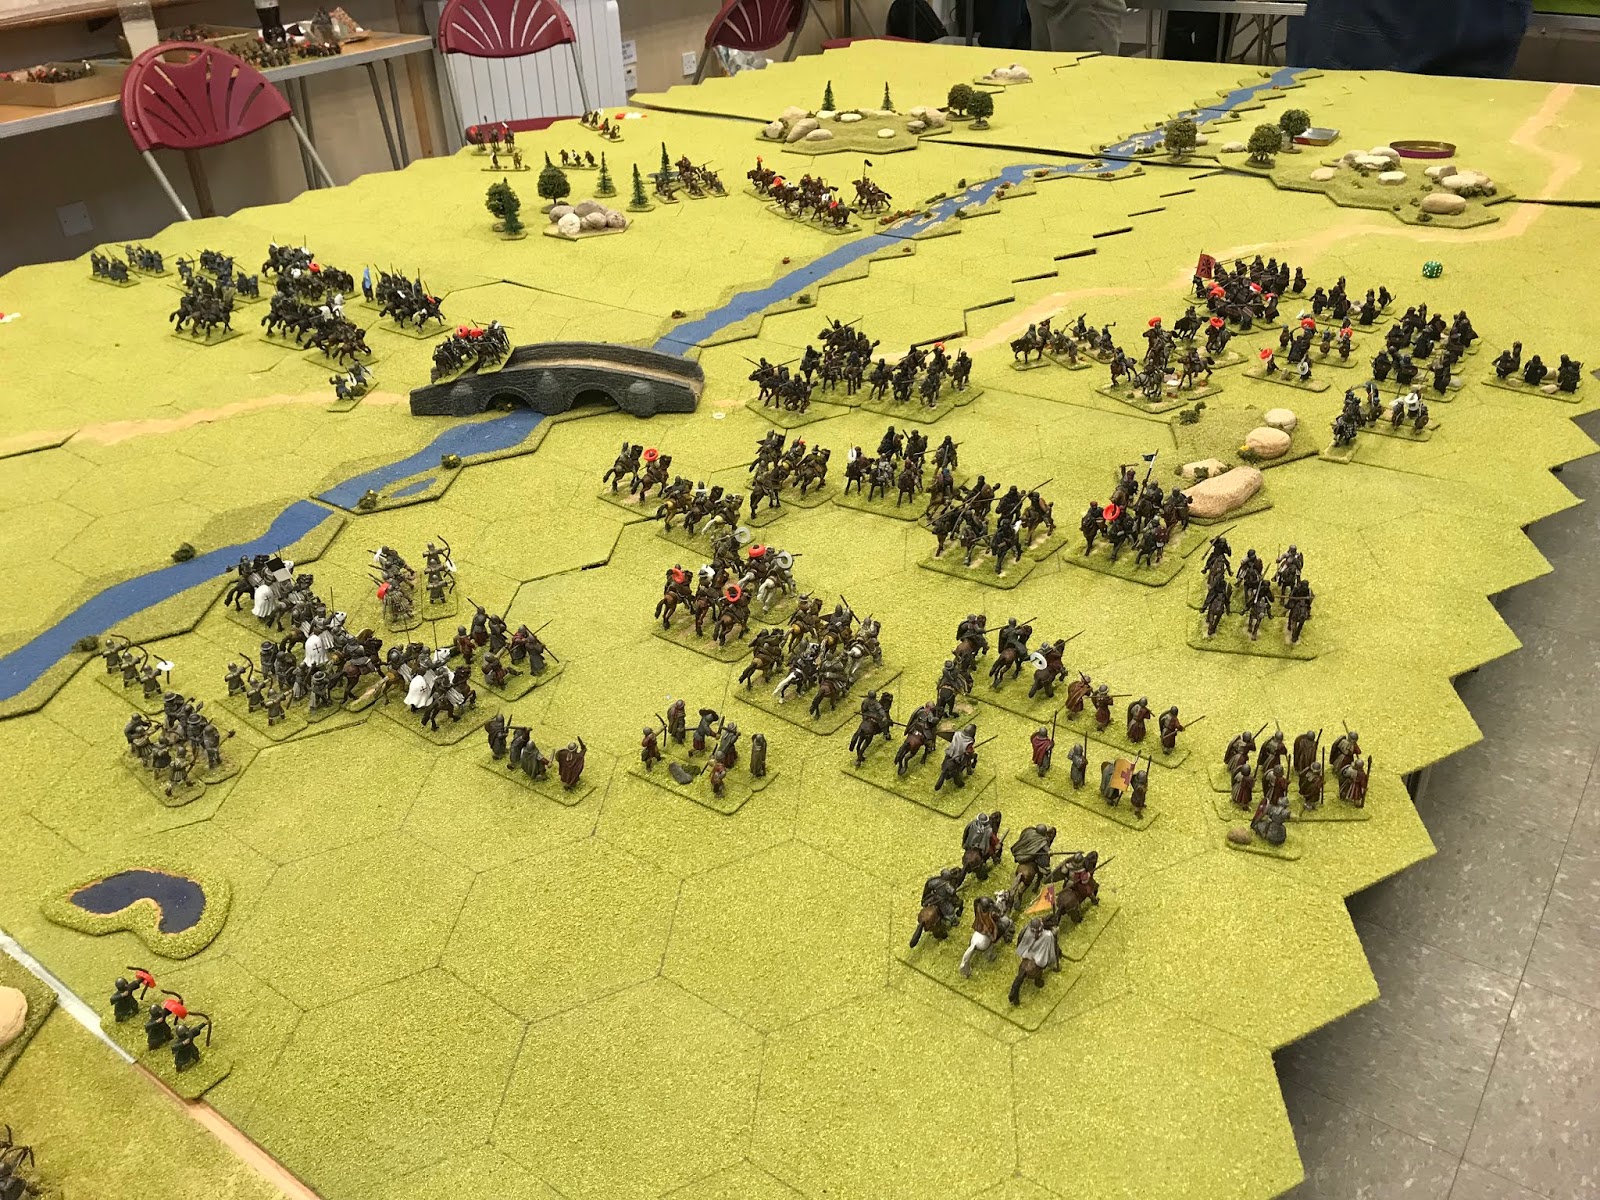
Having crossed the bridge the Saracen cavalry immediately fall back in the face of the advancing Crusaders, enticing them to advance beyond the bridge perhaps, exposing their rear to an attack from the other bank?

Saracen warband fanatics.


On the other side the first cavalry combat

With the Saracens thrown back denoted by the red markers. The white markers on the Crusaders denote fatigue generated bt the fight.

The fanatics get stuck in!

The archers are thrown back behind their supports but the fanatics having followed up their victory by crashing into the spearmen are then thrown back.

Over the bridge the Knights of St John with their supports engage the enemy while leaving some spearmen and bows to guard the bridge.

The spearmen folow up their victory against the fanatics.

A pretty good outcome for the Knights, However, being impetuous the follow up their victories and despite winning again become increasingly exposed.


Many of the Saracen units have been destroyed or pushed bach by the ferocious charges of the gallant knights of St John.

More victories on the other flank with this combat...

resulting in 2 more Saracen units destroyed.

Meanwhile the fanatics are flanked by some mounted knights

With predictable results.

The battle on the left rages on with over exposed units of knights overwhelmed and destroyed. The Saracens have been pushed back quite a way with considerable losses so the outcome is well in favour of the God fearing Crusaders.

Fanatics awaiting their fate.

News of the deabacle across the river sees the Saracens begin an orderly withdrawal.

but the Crusader knights and cavalry have other ideas.

The fanatics prepare for a last stand having held this part of the Crsader line for most of the battle.

Now virtually surrounded.

They are forced to give ground.

The Crusader cavalry catch the withdrawing infantry

the outcome being rather predictable.

Searching for more victory points on the other flank the knights continue to press forward

Three units of knights battle the retreating enemy with fresh units appearing.

The Crusaders clearly have the numbers on this side of the battlefield


Up by the river the Saracens have withdrawn after being defeated by fresh units of knoghts

While over the river the Saracen cavalry is positioned to protect the withdrawing infantry.

While the fanatics are still battling away.

Two really battered units of the Knights of St John will need to retreat or be destroyed with the red and white markers indicating they can't afford another combat.

Meanwhile another unit of fanatics crosses the bridge to buy time for the withdrawal on the other side to continue

Both units of fatigued knights are cornered and removed as they accumulated 3 red markers each.

The Crusader right

and the left.

The fanatics still battling away.

one of them is destroyed having been beaten by a doubled dice score in the combat dice roll.

the battle for the bridge continues with both sides accumulating red markers by this point.

A final attempt to prevent the Saracen withdrawal on the right with the knights and cavalry closing on the cavalry to their front.


The fanatics on the bridge are finally destroyed leaving it in the hands of the Crusaders.

A view from behind the Saracen right, the Crusaders having reformed their line ready to continue their advance.

The same from the Crusader side.
A bit more congested on this side as the Crusaders continue their pursuit of the withdrawing Saracen left wing.
At this point we called it a day with the Crusaders securing a 3 point victory in campaign terms winning on Casualties, territory gained and objectives.
Some pics of the other game-


This also looked like a great game.
Another good day all round at the club.
Cheers,
Great looking games
ReplyDelete