I have made quite a few farms for people over the years and they take a fair bit of time to do. With these new kits it has become a little less time consuming so i thought it might be an idea to share how i did this one.
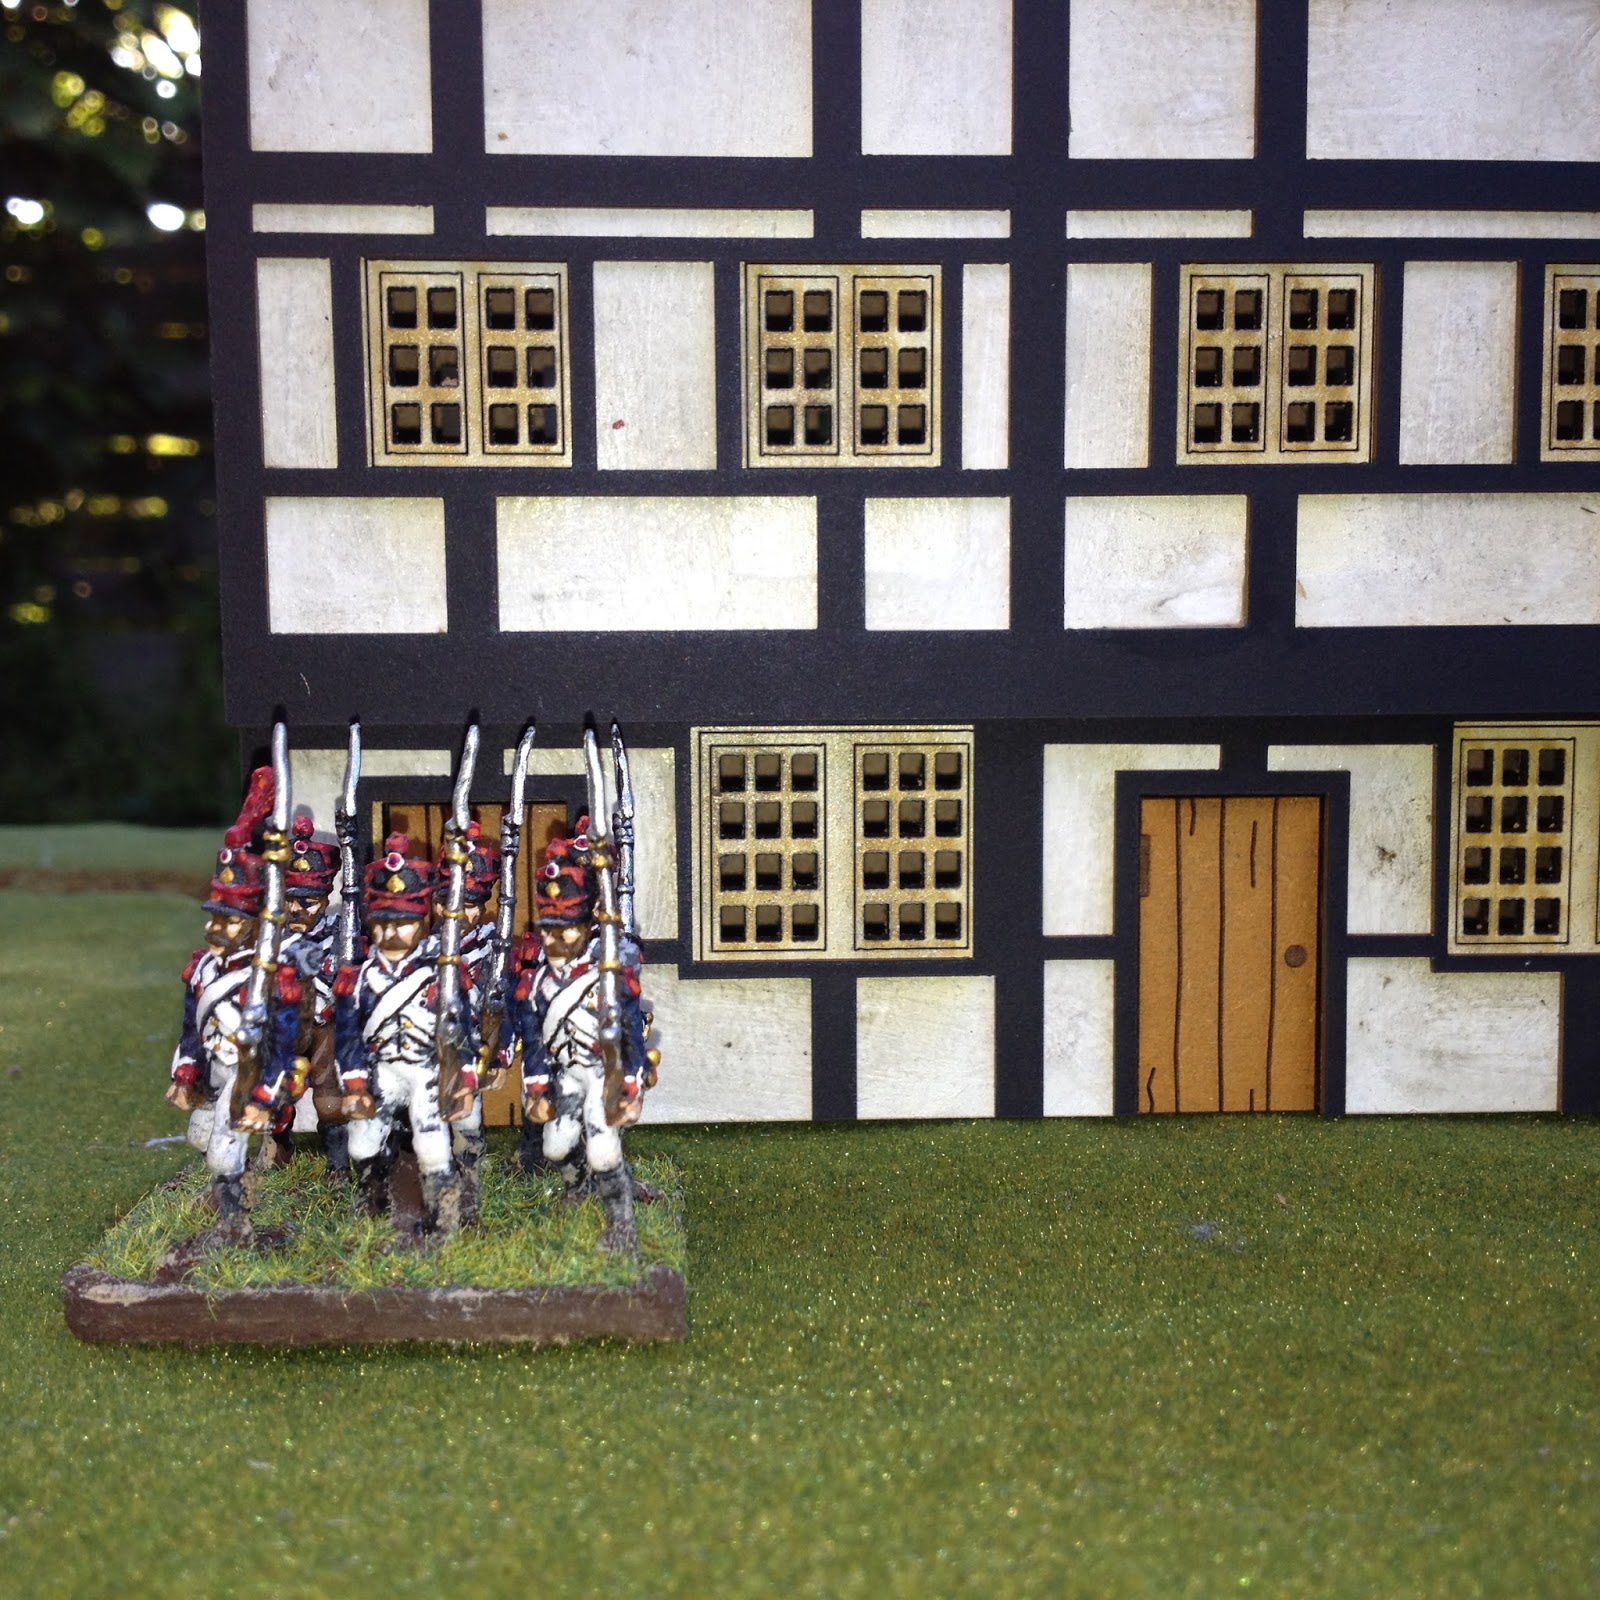
Two of the kits used in this farm, a cart shed and large house. These are the completed kits as they are made following the instructions provided. As can be seen they are the gray roof versions, brown roof versions were used for the farm.
Two of the kits used in this farm, a cart shed and large house. These are the completed kits as they are made following the instructions provided. As can be seen they are the gray roof versions, brown roof versions were used for the farm.

The models are constructed as normal, however the white card outer pieces are left off and the details are added, These include the balcony, lean-to, door and window frames and the brick lintels.
The buildings were then laid out in the desired arrangement and a piece of MDF cut to size. The gaps between the buildings were measured and the walls and gate cut to size also.

The buildings are then rendered using wall filler which has had brown masonry paint added. This ensures that any chipping during use does not expose unsightly white plaster which would require repainting. For the time being the connecting walls are left as they are.

A close op of the render. This can be as rough or smooth as personal taste dictates. Note the exposed brick below the balcony. This is engraved onto the prepainted MDF. so work around that when applying the plaster.

The main building is then glued onto the base board.

Locate the first piece of wall and the next building which, in this case, is a stable.

The gateway is then located and the cartshed placed ready to be glued.

The final wall is positioned allowing the cart shed to be glued into position with no gaps between the wall and the gate.

I then added plaster to the base and inside the stable. The area left will be grassed.

The connecting walls are also then plastered.


After applying soil groundwork to the remaining areas of the base board (the area next to the lean to) the first dry brush is applied to the entire model. Again this is down to personal taste. I prefer my models to look a bit rough and ready so not too heavy with this layer.


The top layer of dry brushing is now applied to the whole model.

I then added static grass to the areas with the soil effect of the baseboard. The gates are then glued into position as are the doors.

The cart shed and balcony.

Back of the large building. Note exposed brick on the gable end.

The stable block.

Completed model with Perry figures. The balcony figure is based in a 1p coin and fits in comfortably.

The next tutorial will feature ruined 6mm city building kits and how to customise them with rubble and smoke damage.
Thanks for looking.
Mick