As one of our members purchased a copy of these rules at the not anywhere near Derby Derby show we thought it would be a good idea to get the 20mm British and Germans out for a first game. We quickly laid out a table and the Germans advance from one edge with the British advancing from the other. Objective to simply take the village.
One half of the village
The other half. Plenty of ruined
Buildings to hide troops in.
Instead of cards we used gambling chips with unit numbers on for activation. These were drawn out of a bag. HQ had 2 tokens and one of these can be used to bring forward another units activation.
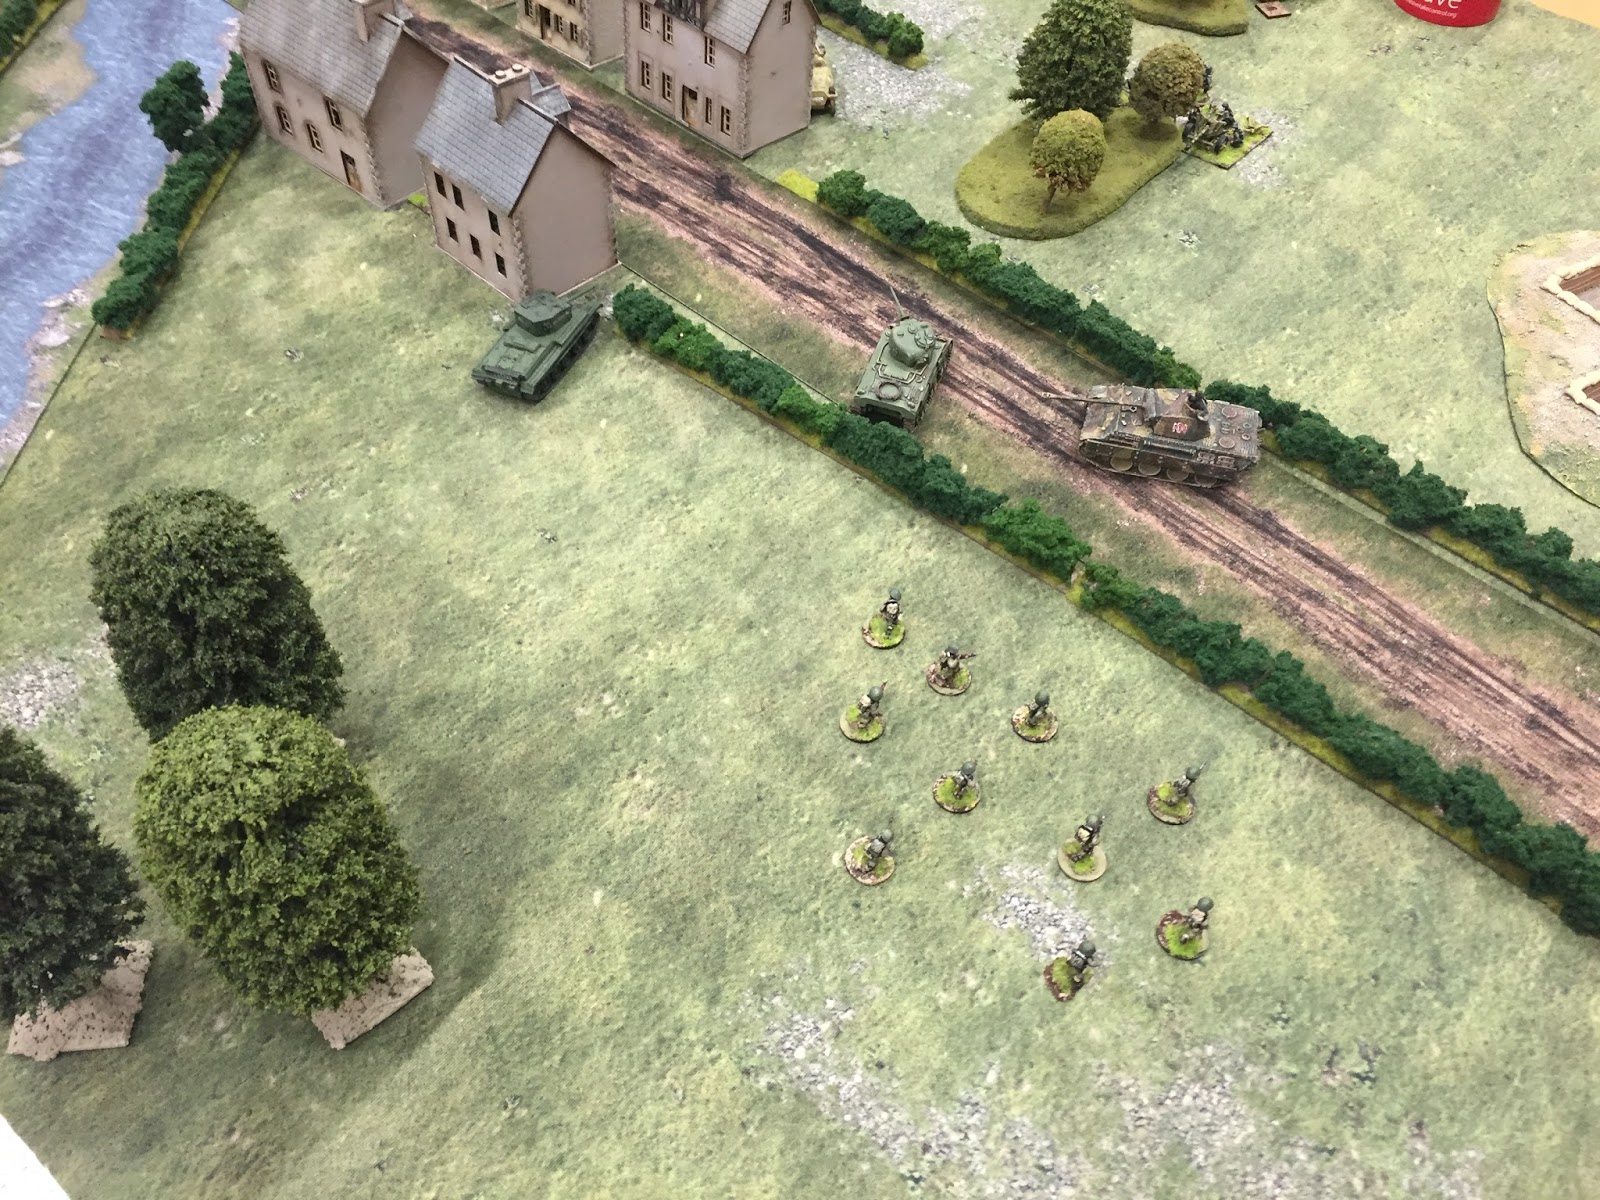
In the distance is a Panther with the British Cromwell and an infantry section advancing towards the hedge line.
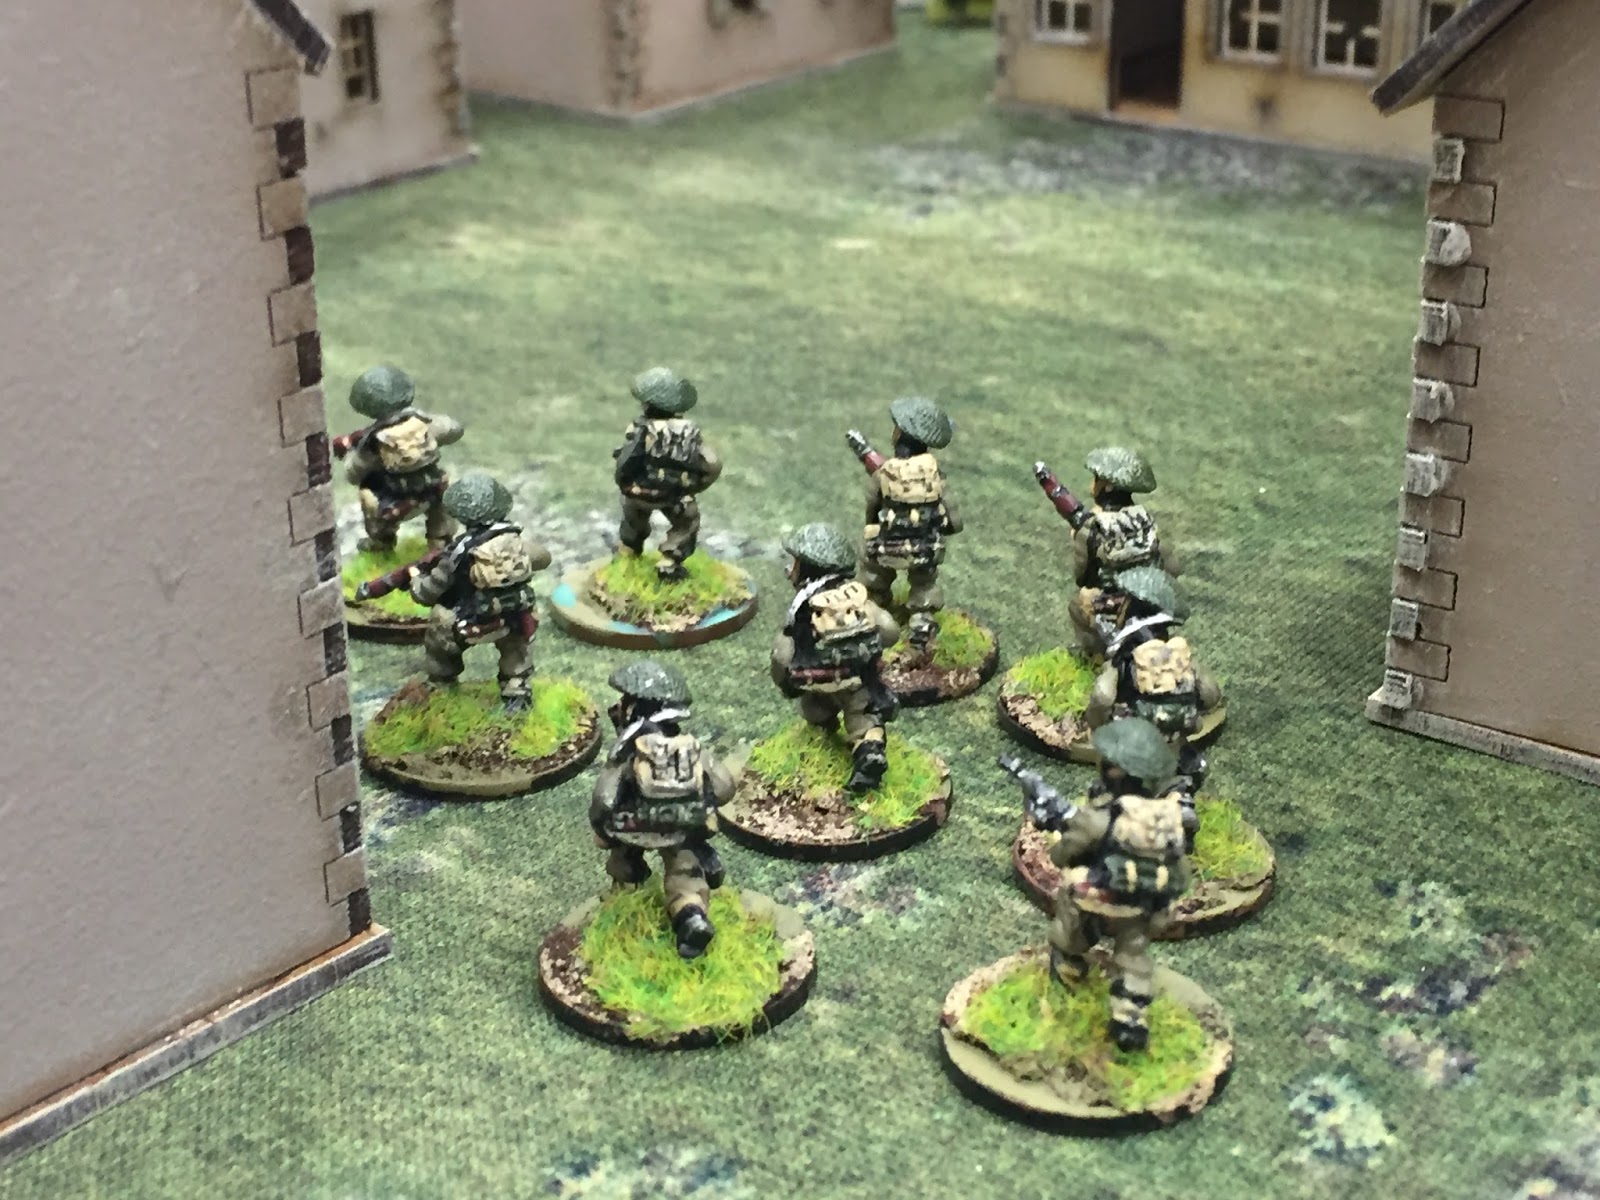
Germans begin to enter the village. If you're within 12 inches of HQ you get 2 actions with the 2nd requiring a QT (quality test) test.
British troops advance into a village square.
The Panther takes a pot shot at the Crowell with no effect.
The Cromwell returns fire and forces the Panther to retreat into cover suppressed.
A german squad having entered a bombed out building goes on overwatch.
On the opposite bank the British prepare to do the same.
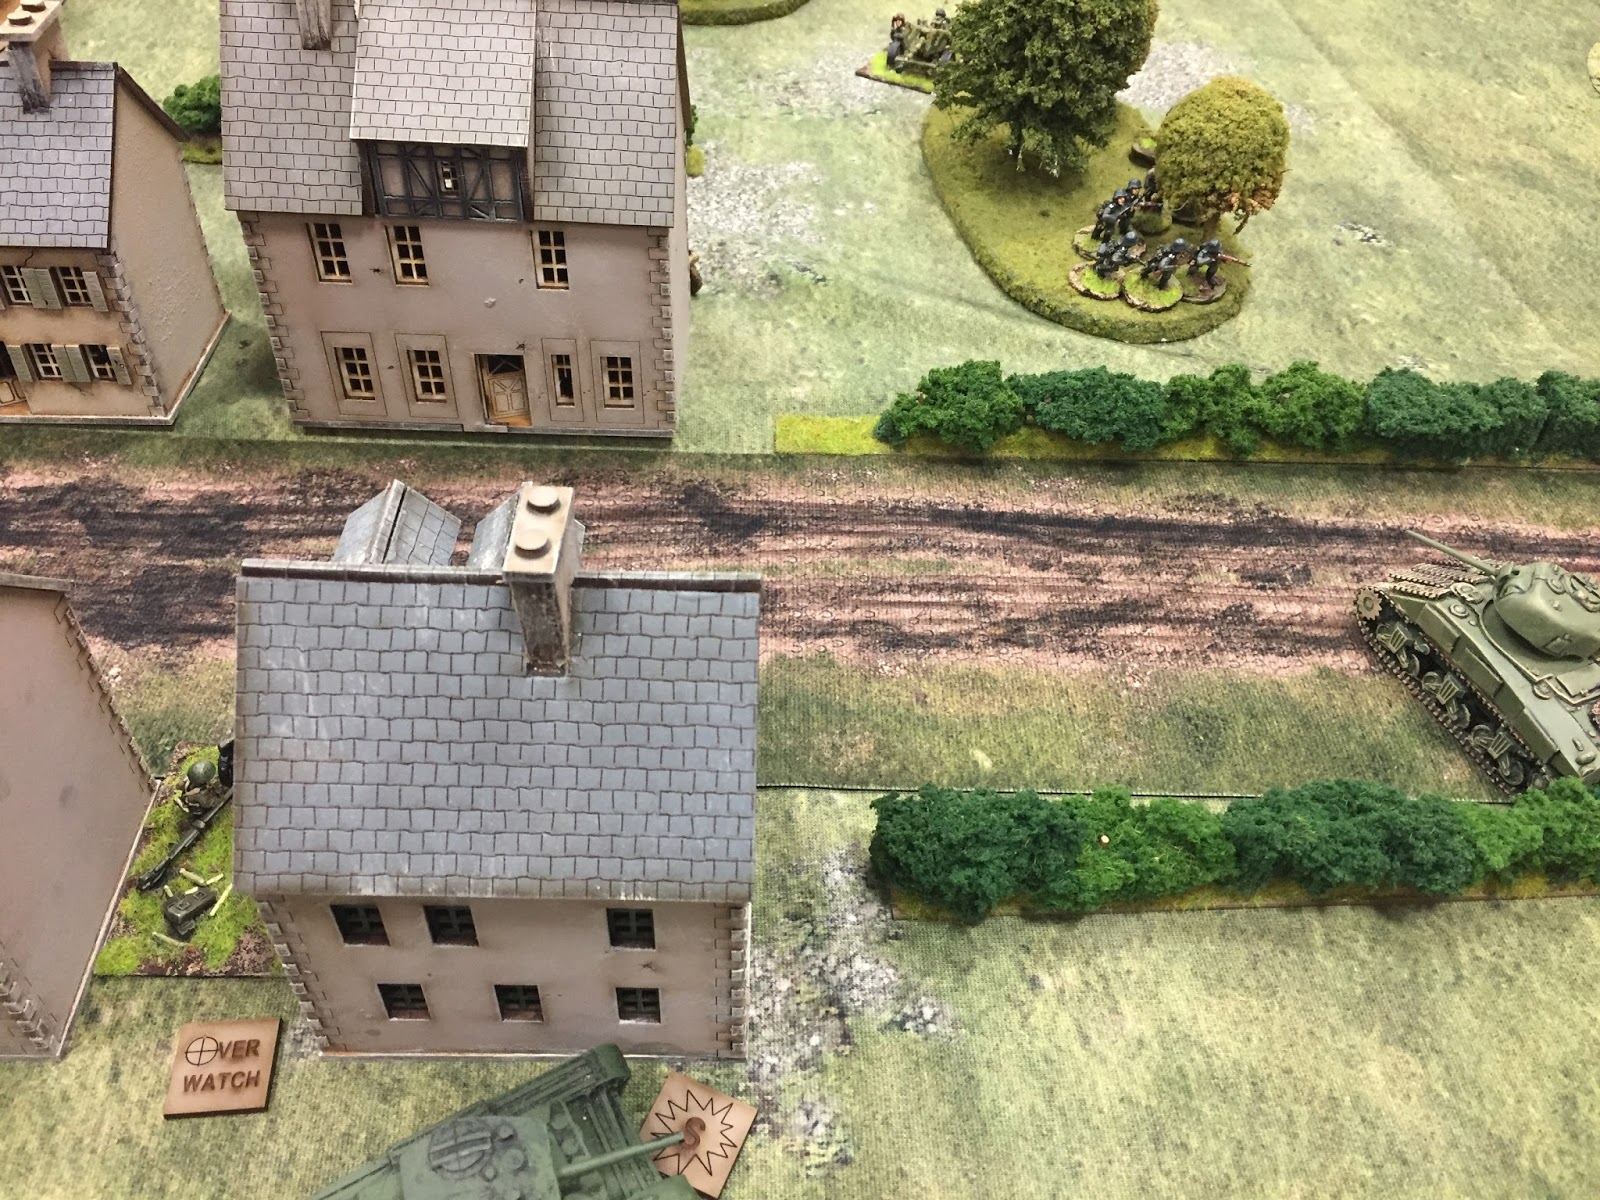
A view down the village street.
Occupation of the buildings continues on both sides.
Oh dear!!
This is not going to end well!
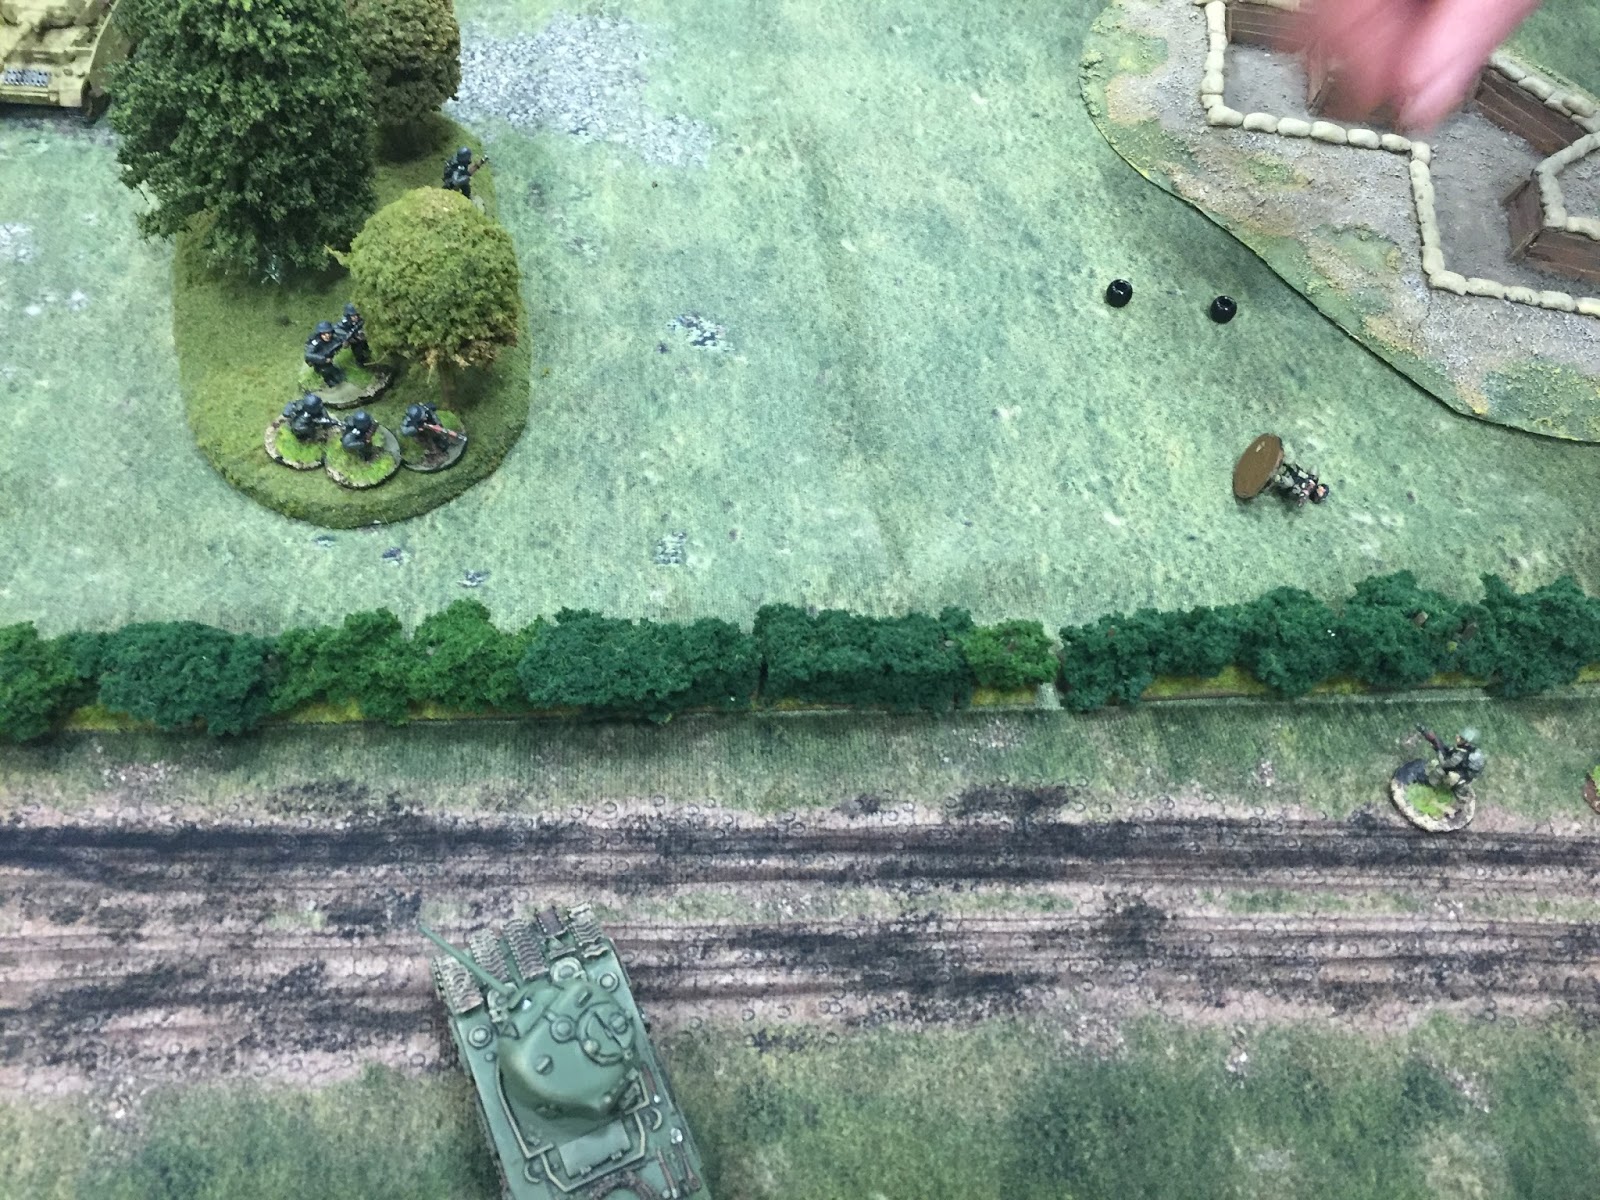
This is the template for a Panzershreck, it's firing at the 6lbr.
British troops break through the hedgeline unaware that a German unit is occupying a small wood nearby.
Revenge is sweet, nice side shot on a Panther.
The Panther quickly engaged reverse and was permanently surpressed halving all factors.
My Britsh were were on the wrong end of some German firepower, the beads representing the allocation of shots.
3 were killed and a couple of others beat a hasty retreat over the fence.
The Cromwell was forced back into cover by a German anti tank gun hidden just behind the tree.
The Panther opened up with its machine gun.
Many of the buildings are now occupied. The British employed Recon fire to try and flush out the Germans resulting in return fire by troops on overwatch.
The British came off worst taking several more casualties.
We used different coloured beads for different weapons to split fire as weapons had different factor. This worked very well.
The bottom line was that the British got hammered! 12 casualties and a tank to 1 and a knackered Panther. It certainly livened up pretty quickly and we will be playing this again gradually introducing more of the optional rules.
Mick