
We had our first game with these rules last Saturday and decided on a game set during the Crusades. What should appear next is the Order of battle for each side. Unfortunately the sheets i picked up with this vital information on them were neatly folded and placed in the top of my lunch bag with the rubbish from the aforementioned lunch in it. Inevitably some idiot threw the sheets away with the rubbish resulting in mass impersonations of Manuel-'I know nothing'
What this means is i can make things up as i go along so lets get started.


These Templars look pretty cool.

The main Crusader battleline with some religous fanatics making a nuisance of themselves.

These lads held the left flank

Their opponents, very nicely painted too.


Camels! Horses don't loke camels as we will soon find out.

A nice looking command base.

And another for the opposition.

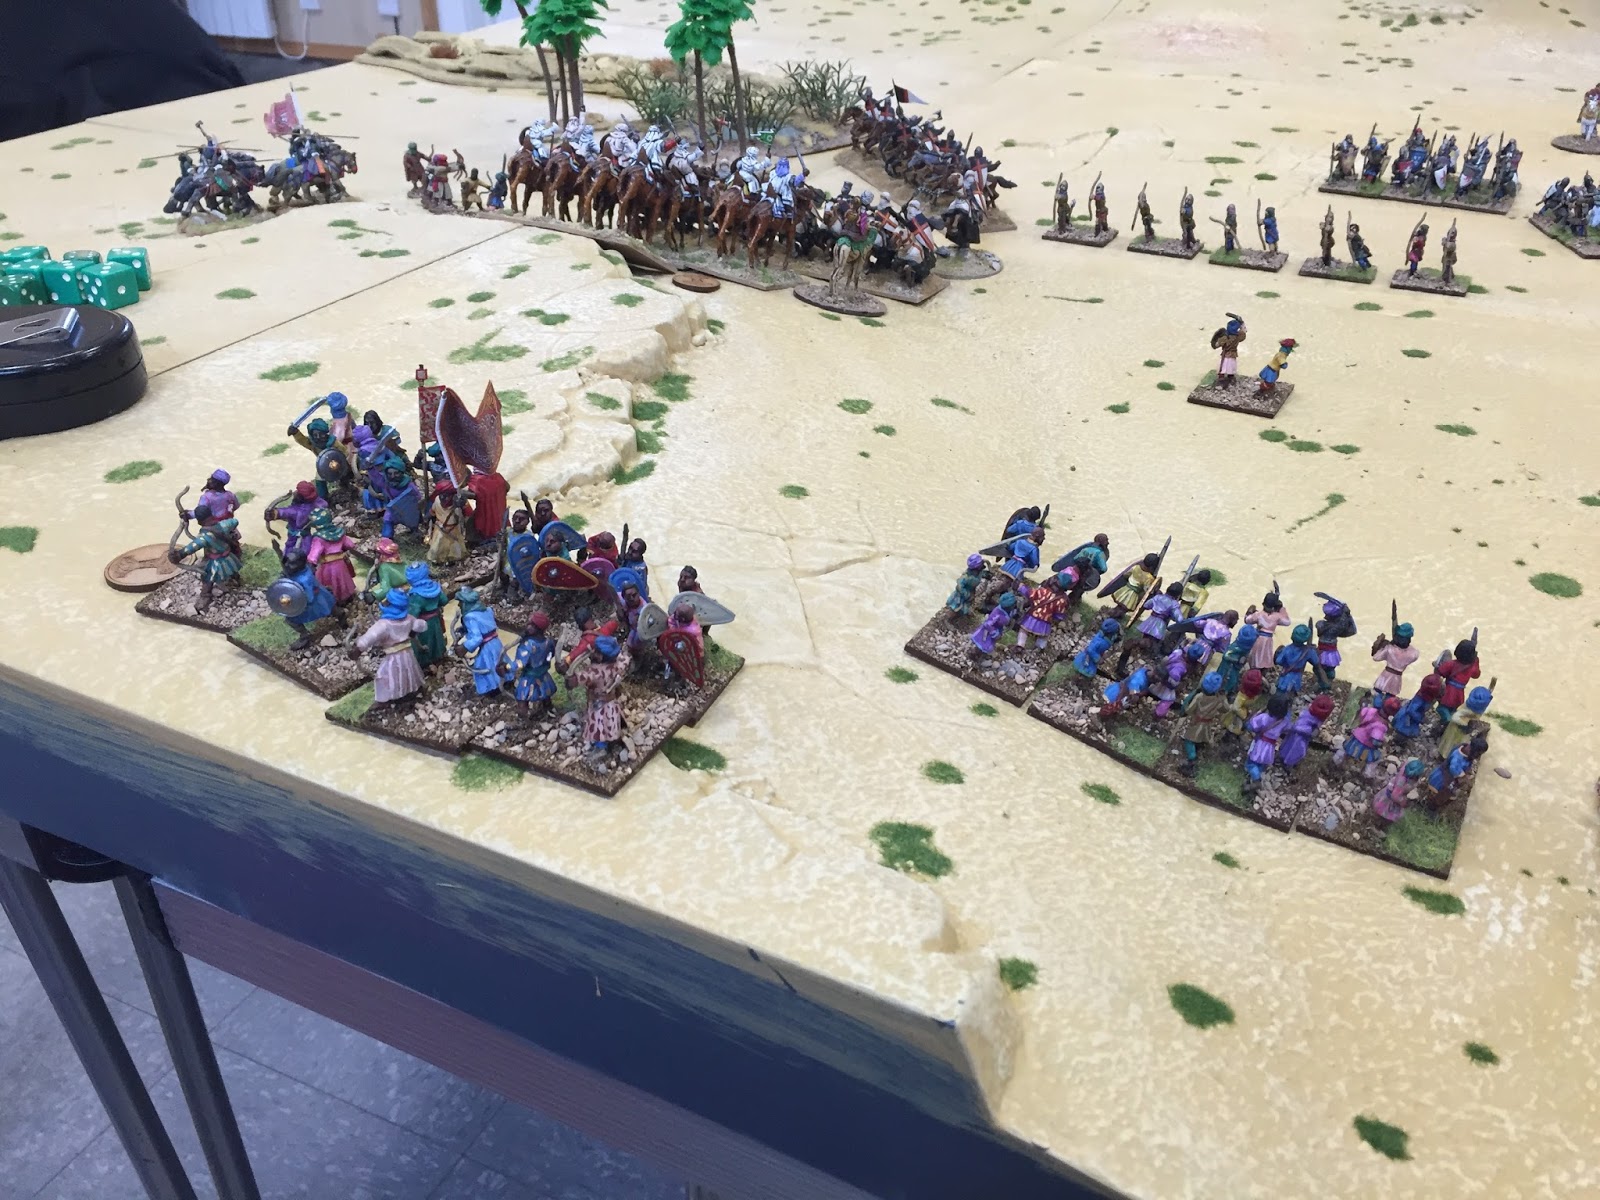
The Saracens best infantry.

If i knew how to rotate this i would but it's beyond my limited capapabilities! Anyway it is, of course, the Swordpoint rulebook.

The Templars, supported by their Sargeants decide to deal with the Camels

The rest of the line advance.

No Firing so next turn the Crusades cavalry charge.

on both flanks

On the left flank they are pushed

but the Templars win and push the camels back together with the infantry which they also contacted.

The position afetr 2 moves.

The victorious Saracen infantry infantry follow up and are joined by their cavalry


Another interpretation of the rule concerning the Templars fight resulted in the infantry failing a break test resulting in several other units doing the same. Things were looking rosy for the Christians at this point. Our first lesson learned with the new rules!

The Templars continue their struggle with the camel unit.

End of turn 3 with the Crusader dismounted knights advancing and the skirmisher screens gradually being worn down.

The camel units are seriously depleted but holding their own against the Templars. The Sergeants respond to a threat to the Templars flank.

The religous mob are sent fleeing from missile fire.

A view from behind the Saracen centre after some of the fleeing units have been rallied.

Another view from the centre of the Saracen line.


The Crusader cavalry are about to be overwhelmed after terrific resistance.

By now it's clear to the Christian commanders that thins are about to go horribly wrong on both flanks, the only hope being to force the issue in the centre where the Saracen foot have been giving way, fearfull of the deadlt crossbow armed infantry trying to get within close range.


The Templars and Sergeants begin a desperate struggle against crap dice.


On the left wing the remnants of the Crusader cavalry prepare to be overwhealmed.

Leaving their defiant general alone.

The Templars and sergeants battle the dice Gods and the Arab cavalry.

Both are defeated having lost 2 generals!

An infantry combat in the right centre of the Crusader line.


Over on the left the victorious Arab infantry turn and attach their exposed Norman opponents.

who are pushed back

The Saracen token count!!!!!

The Crusader token count.

Crusader options are decidedly uncertain.

Saracen cavalry about to break through into the rear of the Crusader infantry.


At this point we called it a day.
Postscript-
Having just come back from a club night when 2 Crusades Swordpoint games were played it emerged that we had got several important things wrong which could have affected the outcome. The joys of learning a new rules set. Now, where's my copy of Hail Caesar?
Thanks for looking.
Mick
No comments:
Post a Comment