
Another one of our Saturday all day games this time it's the Crusades. Now this game took place some weeks ago which means i've pretty much forgotten what the hell went on. Also these were not my toys having been provided by club treasurer Tom. So i'm not great with the troop types either.!
Basically what i'm getting to here is there won't be many words in this!
Anyway i think this scenario was loosely based on the Battle of Hattin. The Crusader objective was to advance towards a lightly defended fortress while protected from the enemy by the rear guard. The Saracen forces were, however, ready to launch surprise attacks all along the line of march and not just against the rearguard.
Rules were Hail Caesar.
That's enough of the preliminaries now on with the show.

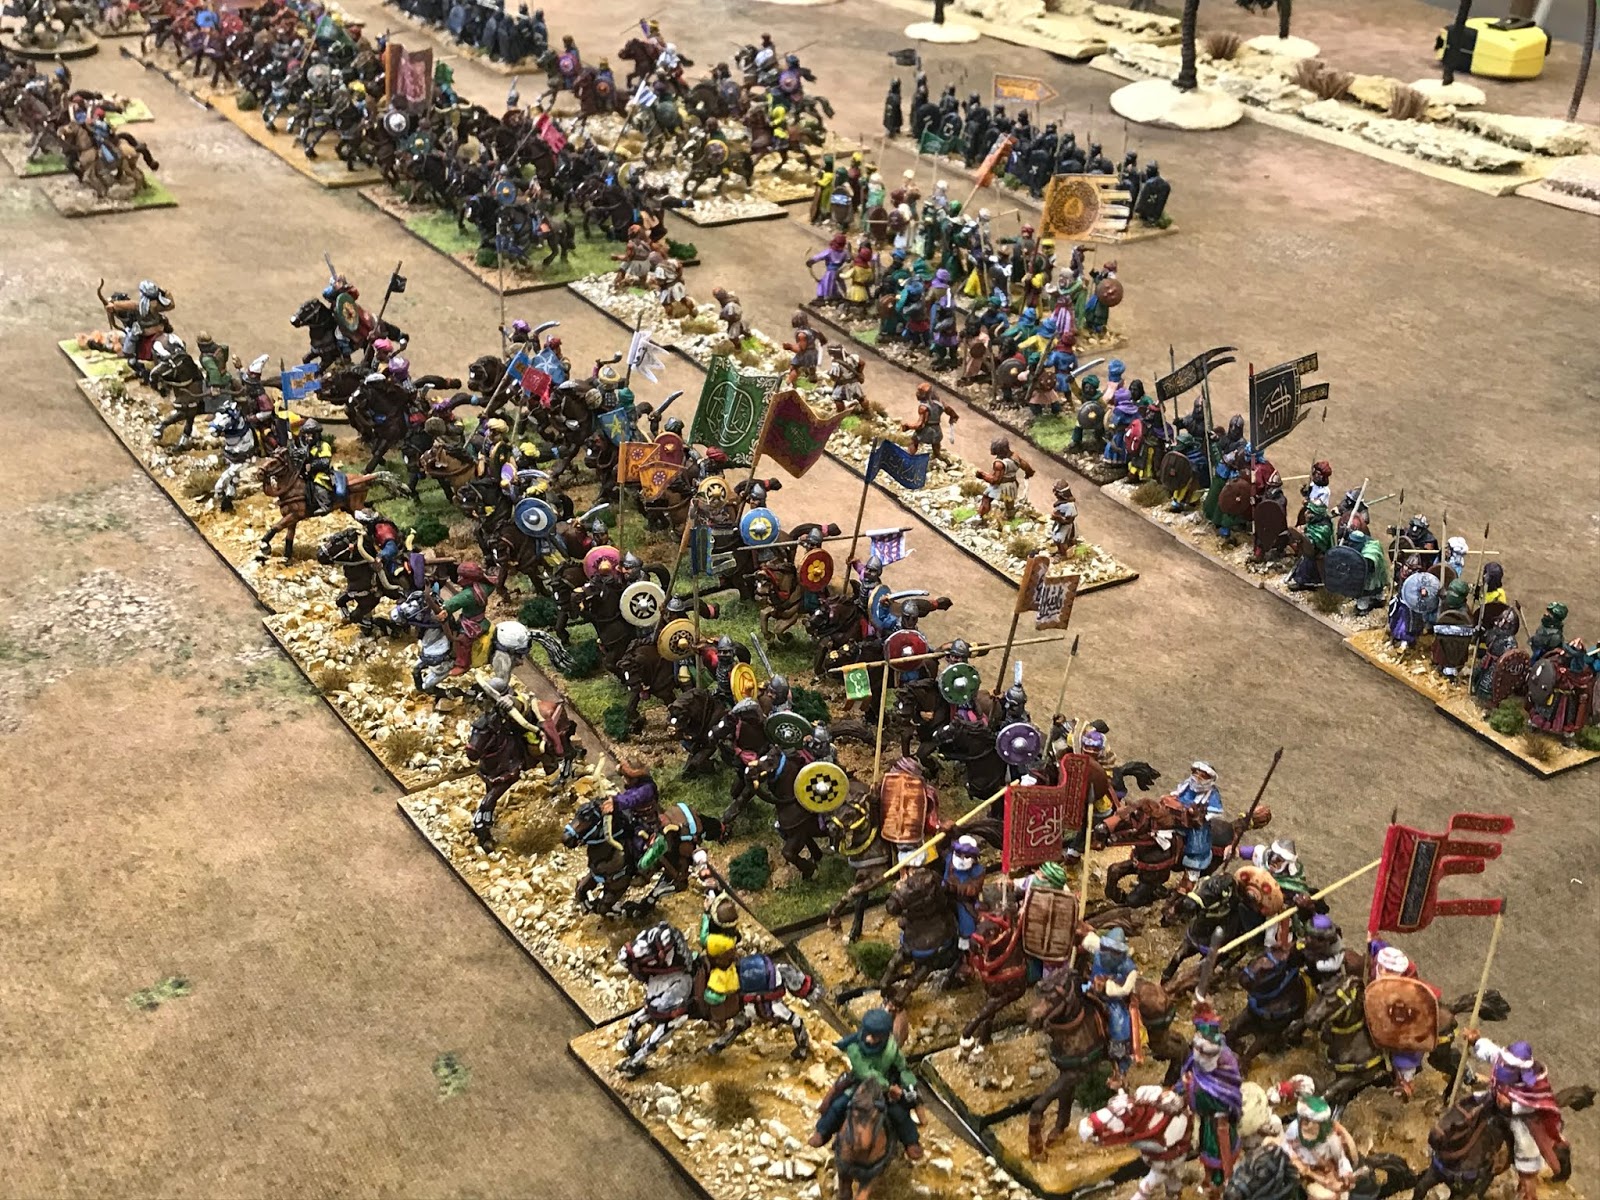
Crusader centre


The rear guard

The Saracens launch their first attacks on the centre.

This is the Saracen force attempting to capture the bridge leading the the fort cutting it off from the advancing Crusader forces. As can be seen the Saracen forces were using blanks. These lads turned out to be less than enthusiastic much to the annoyance of commander Dean.

The Crusader centre turns to face the enemy attack supported by cavalry.


The rear guard advance across the ford.

The Saracen assault on the centre develops.


Saracen forces begin to assault the rear guard in an attempt to cut them off from and isolate the centre.

The Saracen cavalry skirmishers take some casualties.

While the heavy mob try to cut the bridge off.

The action hots up at the rear.

Pretty inconclusive!

The pressure on the Crusader centre begins to mount but casualties are building on both sides.

The Saracen heavy cavalry attempting to cut off the bridge haven't moved much.

The rearguard again joins combat.

The Crusader centre.

The Centre right which will attempt to hold the bridge.

However the Saracen left wing, ignoring the fortress, finally gets moving and head straight for the bridge to cut the Crusader relief force off completely.

The stalemate at the rear continues.


The Saracen cavalry finally begins to make ground.
The Saracen Centre.

The Fortress and Saracen right wing.

The Crusader rear guard begins to give ground under heavy pressure.

Help is nearby from the centre.

but will they move or remain to shore up the centre?

Which is coming under increased pressure as the Saracen advance intensifies.


Battle is joined by the bridge with some of the Crusaders best cavalry pitched against very good Saracen cavalry.


Cavalry from the centre are sent to shore up the rear guard to avoid it collapsing and exposing the rest of the army.

They could just as easily have been used in the centre where casualties have mounted alarmingly.

Two units seek refuge in a walled field.

Crusader cavalry have been thrown back and with Saracen cavalry set to pour across the bridge the game is just about up.

The rear guard. In the distance can be seen a unit isolated across the river after being thrown back. The Saracens throw a camel unit into the fray hoping to unsettle the Crusaders horses.


The helpless garrison look on and can only give some pretty ineffective missile fire in order to slow the Saracen advance.


The Crusader centre looking a bit thin on the ground now.


A last ditch attempt to stop the Saracens from crossing the bridge.

Odds being heavily in favour of the Crusaders the Saracens were thrown back.

The camel tactic having failed miserably things were beginning to improve at the rear,

But the Saracen cavalry by the bridge having destroyed one of the two remaining Crusader knights units were preparing to administer the Coup de Grace to the other finally cutting the bridge off .
A clear Saracen victory.
Thanks to Tom for providing the toys and everyone involved in an enjoyable days gaming.
Cheers
Mick
No comments:
Post a Comment